
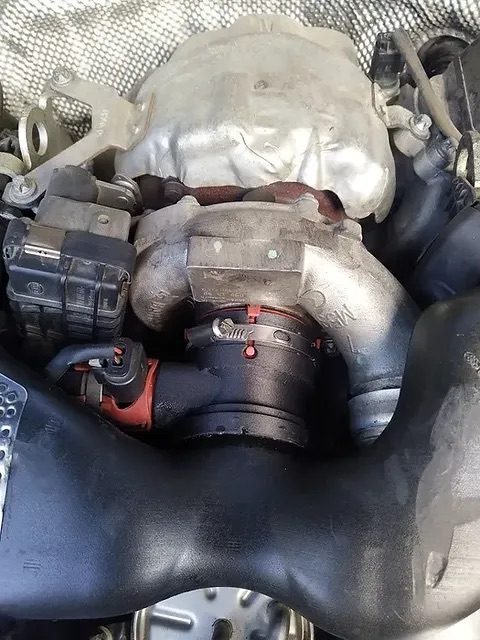
How to Repair a Mercedes OM642 Air Duct in Under One Hour
A practical step-by-step guide to repairing the Mercedes OM642 batwing air duct with the FIXHEN N1013 replacement end, adhesive and basic tools.
A cracked or broken intake air duct on a Mercedes-Benz with the OM642 V6 diesel engine does not always mean replacing the complete “batwing” assembly. With the FIXHEN N1013 repair kit, the damaged end can be removed and replaced in a straightforward workshop procedure that normally takes less than one hour of hands-on work.
Important: The installation itself can be completed in under one hour, but the adhesive or sealant must be allowed to cure for the full time specified by its manufacturer before the engine is started.
What the N1013 repair kit is designed to fix
The original Mercedes-Benz intake duct can split, crack or lose its sealing surface around the turbocharger connection. Heat, vibration and repeated removal during servicing can make the factory plastic brittle. Once the joint is damaged, the intake may no longer seal correctly.
The N1013 replacement end is designed for the Mercedes-Benz OM642 intake manifold air duct associated with OEM references A6420908237 and A6420907337. Instead of replacing the complete duct assembly, you retain the sound original section and replace only the failed end.
View the FIXHEN N1013 OM642 air duct repair kit →
What you will need
- The FIXHEN N1013 replacement end
- A fine-tooth saw, rotary tool or another suitable plastic-cutting tool
- Deburring tool, file or fine abrasive paper
- Degreaser suitable for automotive plastics and a lint-free cloth
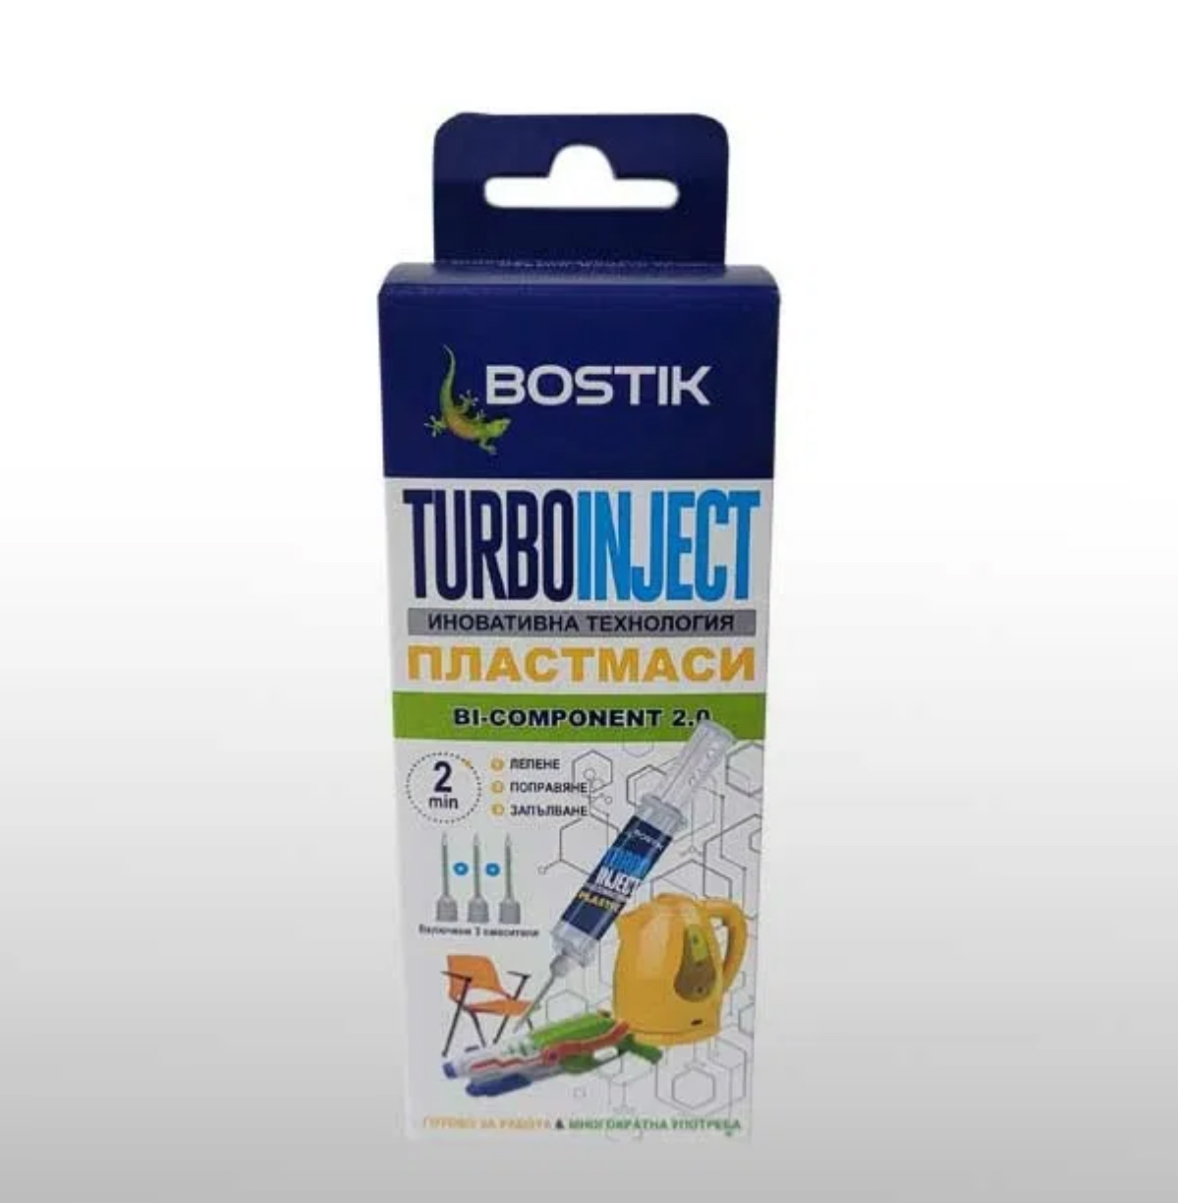
- A quality two-component adhesive suitable for plastic and engine-bay temperatures, or a high-temperature automotive silicone
- The correct clamps and seals for your vehicle
- Gloves and eye protection
How to repair the OM642 air duct
1. Remove and inspect the original duct
Work only on a cold engine. Remove the intake duct according to the workshop procedure for your vehicle and inspect the complete assembly. Confirm that the remaining body is structurally sound and that the failure is limited to the end being replaced. If the main duct is badly distorted or cracked in several places, replace the complete assembly instead.
2. Mark and cut away the damaged end
Place the N1013 repair section beside the original part to establish the correct cut position. Mark a straight, even line, leaving enough sound original material to create a strong bonding surface. Cut slowly and keep debris out of the duct. Do not cut electrical wiring, sensors or adjacent components.
3. Prepare the bonding surfaces
Remove burrs and lightly key the mating surfaces with fine abrasive paper. Clean both surfaces thoroughly and let them dry. Oil, silicone residue and loose plastic will weaken the bond, so careful preparation matters more than applying excess adhesive.
4. Bond and align the replacement end
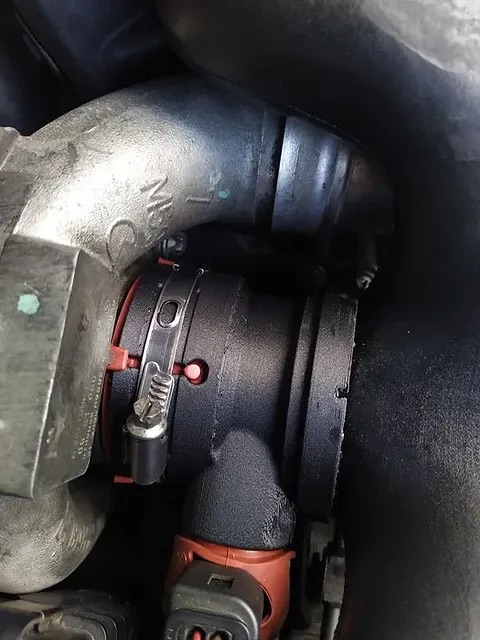
Apply a continuous, even bead of compatible two-component adhesive or high-temperature automotive silicone around the joint. Fit the new end in the correct orientation and check that it sits squarely without restricting the internal air path. Wipe away excess material, but do not disturb the joint once alignment is correct.
5. Allow the joint to cure
Secure the part so it cannot rotate or move. Observe the adhesive manufacturer’s full curing time and temperature requirements. A product that feels dry on the surface may not yet have reached full strength. Do not reinstall the duct or start the engine before the bond is ready.
6. Reinstall and check the seal
Refit the duct with serviceable seals and clamps. Make sure the connection is fully seated and that no tools or debris remain in the intake. After the first heat cycle, inspect the joint again for movement, air leaks or oil mist around the connection.
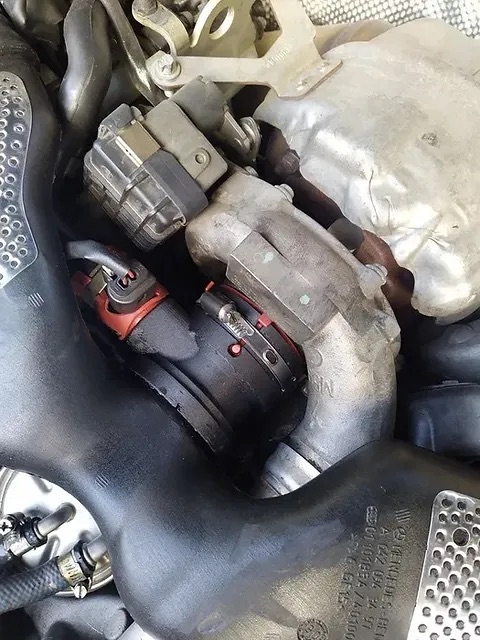
Real installations from FIXHEN customers
The following two videos were sent to us by satisfied customers after fitting the repair section. They show the finished joint, the fit around the turbocharger and the original duct retained in the vehicle.
Common mistakes to avoid
- Cutting before measuring: compare the new end with the original duct and mark the cut carefully.
- Bonding over oil or dirt: the mating surfaces must be clean, dry and lightly keyed.
- Using an unsuitable household adhesive: choose a product rated for the material, vibration and engine-bay temperature.
- Blocking the airflow: avoid leaving a thick ridge of cured adhesive inside the duct.
- Starting the engine too soon: the hands-on repair may take less than one hour, but curing time is separate.
- Reusing a damaged seal: replace hardened, cut or flattened seals to prevent an intake leak.
Is this a suitable DIY repair?
For a careful home mechanic with basic hand tools, this is a manageable repair. The job does not require replacing the complete intake assembly, and the most important skills are accurate measurement, a clean cut, thorough surface preparation and patience while the adhesive cures.
If you are not comfortable removing the intake duct, working near the turbocharger or confirming an airtight joint, ask a qualified technician to install the repair section. Always identify the original part by OEM number and compare its shape before ordering.
Repair the part you have — not the whole assembly
The FIXHEN N1013 kit offers a focused solution for a common OM642 failure: remove the damaged end, bond in the new heat-resistant PA6-CF section and keep the usable original duct. It is a clean, economical repair that can be completed in under one hour of workshop time when the part is already removed and prepared.